
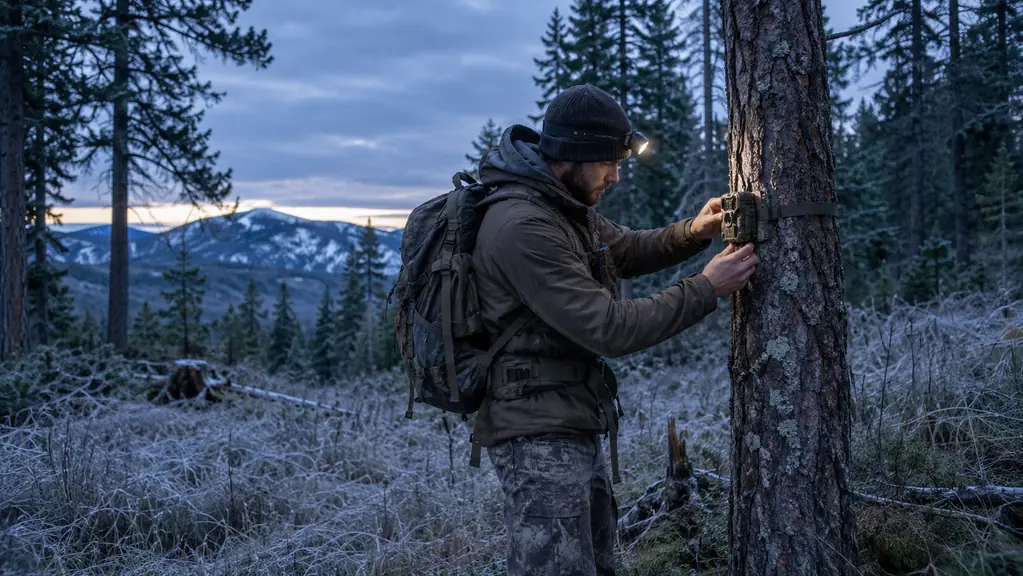
The first trail camera I ever hung went up on the first decent tree I came to. I strapped it, pointed it down what looked like a deer trail, and walked off feeling like I had figured something out. Three weeks later I pulled the card and had four hundred pictures of a branch. Plus two of a doe's back end leaving the frame. I had burned a tank of gas getting to that spot and the camera told me nothing I could use.
Setting a camera is not complicated. You do not need a guide, a class, or a unit with a data plan and a monthly bill. You need fifteen minutes of thinking before you strap anything to a tree. I run a small WOSPORTS mini camera now, mostly because it is light enough to ride in a coat pocket and simple enough to set with cold fingers at first light. What follows is the order I do it in, and it is the order that finally got me pictures worth looking at.
A camera small enough to carry and simple enough to set before your hands go numb
The WOSPORTS mini takes 30MP photos and 1080P video, runs on batteries, and straps to a tree in about a minute. No signal to chase, no app to fight with in the dark. Hang it, arm it, and come back to a card full of deer.
Amazon Check today's price on Amazon →Step 1: Find the sign before you find the tree
The camera does not find deer. The ground does that part. Before I think about a tree, I want something telling me deer are using this piece of ground on a schedule. Tracks pressed into soft dirt along a ditch bank. Droppings still dark and soft. Beds in the grass with hair in them. A rub line on a fence post. Browsed tips on the blackberry where something has been feeding every evening.
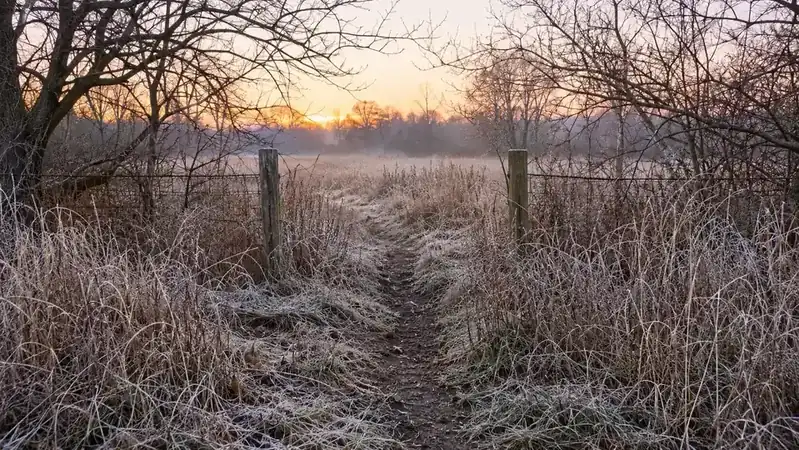
The mistake I made for years was hunting the food. A camera on the edge of an alfalfa field gets you a thousand pictures of does at midnight and one big buck at two in the morning once a week. The travel corridor between where deer bed and where they feed is a better place to sit and a better place to hang a camera. Fence gaps, creek crossings, saddles, the pinch between a rock bluff and a thicket. Anywhere the ground makes a deer pick a lane. I have one gap in a woven wire fence up above the house that three separate bucks have crossed within ten feet of the same cedar post. Took me two seasons of hanging cameras on the wrong side of that fence to find it. Now it is the first tree I check every October.
On public land in eastern Washington that calculation changes after opening day. Pressure pushes deer deeper and turns them nocturnal in a hurry. I look for sign a quarter mile further in than where the trucks park. It is more walking, and my knees remind me of it, but the pictures are of deer that are still using daylight.
Step 2: Pick a height and an angle you can live with
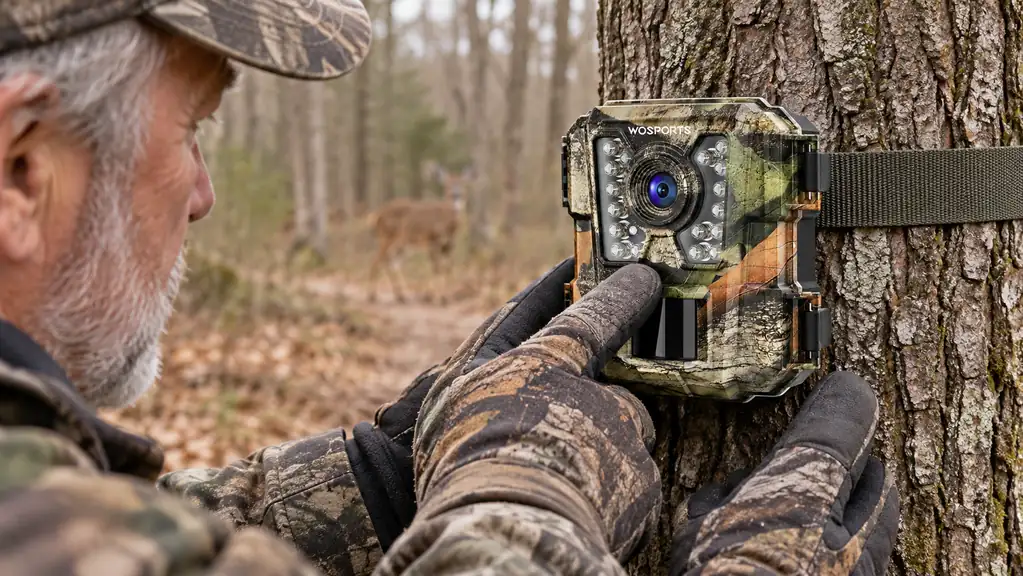
Chest height, roughly three to four feet off the ground, pointed slightly down. That is the setting that has worked best for me. High enough that a nose does not fill the whole frame, low enough that you get the whole animal. Point it down the trail instead of across it. A deer walking a trail crosses a perpendicular camera in about a second and a half. Angled along the trail, it walks into the frame and stays there for several steps.
Face the lens away from where the sun comes up and goes down. Nothing wrecks a set like forty minutes of blown out white every morning. I look for a tree on the north side of the trail when I can, or at least one that puts the morning sun behind the camera instead of in the lens.
Distance matters more than people think. Somewhere between fifteen and twenty five feet from the trail you are trying to watch. Closer than that and you get ears and eyeballs. Farther and the motion sensor has less to work with, especially in cold weather. A 30MP photo does you no good if the deer is a thumbnail at the edge of the frame. I had one set two falls ago where I hung the camera about eight feet off the trail because that was the only straight tree in the pinch. Every picture was a deer's ear and a patch of shoulder. When I finally moved it out to twenty feet on a leaning alder and shimmed the strap with a wedge of inner tube, I started getting whole animals.
Step 3: Clear the set and strap it down tight
Before the camera goes on the tree, I take pruners and cut everything between the lens and the trail that is tall enough to move. Grass, weeds, a willow sprout. One afternoon of wind will hand you two hundred pictures of a swaying stem if you leave it standing there.
The housing is 4.25 by 4.21 by 3.43 inches and weighs 11.68 ounces, so it does not need a big tree. What it does need is a tree that does not move. I pick something bigger around than my wrist and get the strap tight enough that I cannot rock the housing with my thumb. A camera that shifts a quarter inch in the wind will slowly end up pointed at the sky.
It is water resistant, not a submarine. Face the housing so rain runs off the top and down the back, and do not set it where water pools at the base of the trunk. If the camera is going to sit on public ground for a month, I also add a cable lock. It will not stop a determined thief, but it stops the fella who was just going to grab it and walk.
Step 4: Program it before you walk away
This is the step that gets skipped and it is the one that costs you the most. Sit down at the tailgate, or stand at the tree if the light is good, and set the thing up properly. Format the card first. Every card, every time. A card that was living in a different camera will give you grief you do not need.
The WOSPORTS runs on push buttons, so there is no touchscreen to fight with and no menu buried three levels deep. I leave it on photos for scouting and switch to 1080P video only when I am trying to learn how one particular buck is entering a field. Video eats battery and card space fast. Set the date and time. If you skip that, you end up with a card of pictures and no idea whether that buck was moving at dawn or at midnight, which is the whole reason you hung the camera. I learned that the hard way on a set two Novembers back. The camera had reset when I swapped batteries and I never checked it. I ended up with sixty some pictures of a good buck and no clock on any of them. I could tell he was moving in daylight and nothing else. Whether it was first light or three in the afternoon decides where you sit.
Once it is armed, do a walk test. Walk the trail the way a deer would and see whether it triggers. Then walk back and look at where the camera is actually aimed, because it is never quite where you thought. The motion sensor and the infrared night vision are doing the work, and the setup that matters is the three feet of ground in front of the lens.
Step 5: Leave it alone longer than you want to
This is the hard part for me. I want to go check it the next day. Do not. Every trip in is scent and pressure on the exact spot you are trying to learn about. Two to three weeks is my normal window. I will push it to four if the weather has turned cold and the batteries are fresh.
When I do check it, I go in the middle of the day, between about ten and two, when deer are usually bedded and the wind is doing something predictable. I swap the card, swap the batteries, and get out. No standing around, no walking the trail to admire it.
Rubber gloves for the card and the housing. A cheap notebook in the truck with the date, the location, and the card number. That log is worth more than people realize. Two seasons of it and you can see that the same fence gap gets hit every year in the last week of October, which is information no single card pull will ever hand you. Mine is a spiral pocket notebook with coffee on it. The entry for the fourth of November two years ago says 'gap, 3 pm, card 2, swapped batts, 11 deer pictures.' I can read that in ten seconds and know exactly what that spot was doing on that date.
What Else Helps
Batteries are the part nobody talks about. Cold drains them, and a camera that quits on day nine of a twenty one day soak is a camera that lied to you. I change them every time I pull a card whether they need it or not, and I keep a spare set in the truck console so I am never making that decision in the dark with a flashlight in my teeth.
Cards are the other quiet failure. I keep two per camera, numbered with a paint pen, and I format each one in the camera it is going into. A card that rides around in your pocket with your keys will eventually stop working, usually on the morning you drove an hour to get there.
Check the rules where you hunt. Some states and some public units restrict or outright ban trail cameras, and those rules have been moving around. A camera that costs you a citation is a bad trade. Read the regs before you hang anything.
If you want pictures sent to your phone, that is a different camera with a data plan and a monthly bill, and there is a place for it on private ground near the house. Out where the signal dies a mile before the gate, a card pull camera that costs less and never asks about coverage is the one I trust. I have watched enough bars disappear on my phone to know better.
One more thing, and it matters more than any setting on the WOSPORTS. A camera is not a substitute for sitting. It tells you when and where. It does not tell you why. Some of the best information I have gotten came from a camera that showed a buck using a fence gap at last light, and then from me being in a tree near that fence gap three evenings later with the wind in my face.
Four hundred pictures of an empty trail is not bad luck. It is a camera aimed at the wrong three feet of dirt.
Run the steps in that order and you will spend less time guessing and more time looking at deer. Not every set works. Some trees just do not produce, and it takes a season to learn which ones do. But the sets that fail will fail for a reason you can name, and that is a lot better than four hundred pictures of a branch.
Hang it once, correctly, and let it work for three weeks
The WOSPORTS mini weighs 11.68 ounces, straps to a tree, and takes 30MP photos with infrared night vision. Set the date and time, arm it, walk away. Pulling that first good card is the part you will actually enjoy.
Amazon Check today's price on Amazon →